
4 Ways to Draw a Robot wikiHow

How to Draw Robot Step By Step For Kids & Beginners

Robot Drawing How To Draw A Robot Step By Step

Robot Drawing How To Draw A Robot Step By Step

How to Draw a Robot Robot Coloring Page

How To Draw A Cartoon Robot, Step by Step, Drawing Guide, by Dawn
Web from the head, the body, the arms, the legs, and whatever else you can think of.
How to draw a robot blue. Now start drawing the robot with a pencil. Web first, draw a small, flat rectangle to form the neck of your robot. Web step 1, sketch the wireframe to represent the robot's figure and pose (each circle represents a joint).step 2, use 3 dimensional shapes such as cylinders, box shapes and circles to sketch the body parts needed.step 3, use your creativity to sketch robot features over the sketch to create your own design.
Let’s gather up some supplies and get started with some robot drawings. From basic shapes to adding details, this art tutorial will help you create your own unique robot masterpiece. Once you have the outline for the body, you can draw some fun details to it.
This file contains a short version of the lesson and additional tools. Part 2 on my second video. Step 2 right below the head, draw the body in the form of a rectangle.
Step 2 draw 2 circles for the eye and draw a rectangle for the mouth. How to draw a cat. Web materials needed to draw the robot.
How to draw a rabbit. Then rotate it to obtain the arm of the robot like in the image below. Web to color this robot, you should use blue, beige, red, and navy blue.
Just below it draw a rectangle for the body of the robot. Both with shapes and forms, so we can draw 2d and 3d robots. Just below it draw a rectangle for the body of the robot.

How to Draw a Robot Robot Coloring Page

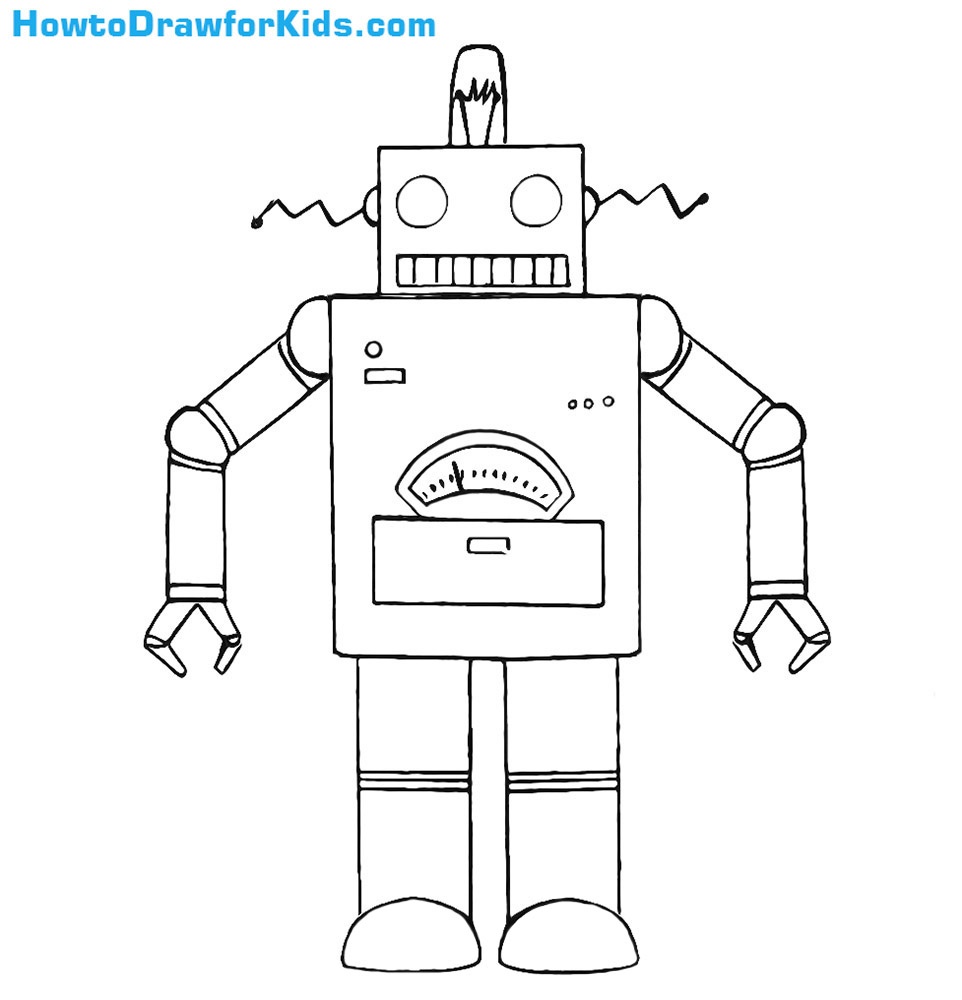
How to Draw a Robot for Kids How to Draw for Kids

Step by Step Tutorial on How to Draw a Robot With PicsArt Picsart Blog

How to draw cartoon robot YouTube

How to Draw a Robot wikiHow

How to Draw a Robot Easy Humanoids Sketch Step by Step Super Cool

How to Draw a Robot Easy Drawing Guides

LEARN TO DRAW A ROBOT IN 9 EASY STEPSHOW TO DRAW AN ANDROID (WITH

Design Your Own Robot Worksheet Printable Worksheet Template

How to Draw a Robot Easy Drawing Art
![How to Draw a Robot step by step [10 EASY Phase]](https://i2.wp.com/easydrawings.net/wp-content/uploads/2020/10/Overview-for-Robot-drawing-all-steps-in-one-place.jpg)
How to Draw a Robot step by step [10 EASY Phase]

How to Draw a Robot for Kids How to Draw for Kids

DARYL HOBSON ARTWORK How To Draw A Robot Step By Step

