
How to Draw a Fork for Kids How to Draw Easy

How to draw a Fork Step by Step Fork Drawing Lesson
![How To Draw A Gardening fork Step by Step [5 Easy Phase]](https://i2.wp.com/easydrawings.net/wp-content/uploads/2021/05/Overview-for-gardening-fork-drawing.jpg)
How To Draw A Gardening fork Step by Step [5 Easy Phase]

Step by step drawing fork. 6563715 Vector Art at Vecteezy

How to Draw a Fork

16+ How To Draw A Fork EmberChikamso
Web step 1 first, draw a pentagon.
How to draw a hand fork step by step. Web this tutorial explains how to draw and shade a hand by providing detailed step by step illustrations along with guidelines for estimating the various proportions of the hand such as the fingers and thumb. Details and shading drawing different hand poses fist and open hand pointing and holding gestures and expressions practice tips and resources drawing from life using reference photos online tutorials and courses Follow my drawing of a fork step by step and i am sure you will be able to draw it easily.
Begin with a vertical line, which will serve as the handle. Be an expert in drawing by learning to draw in just 5 minutes! Easy step for kids how to draw a fork subcribe to learn to draw !
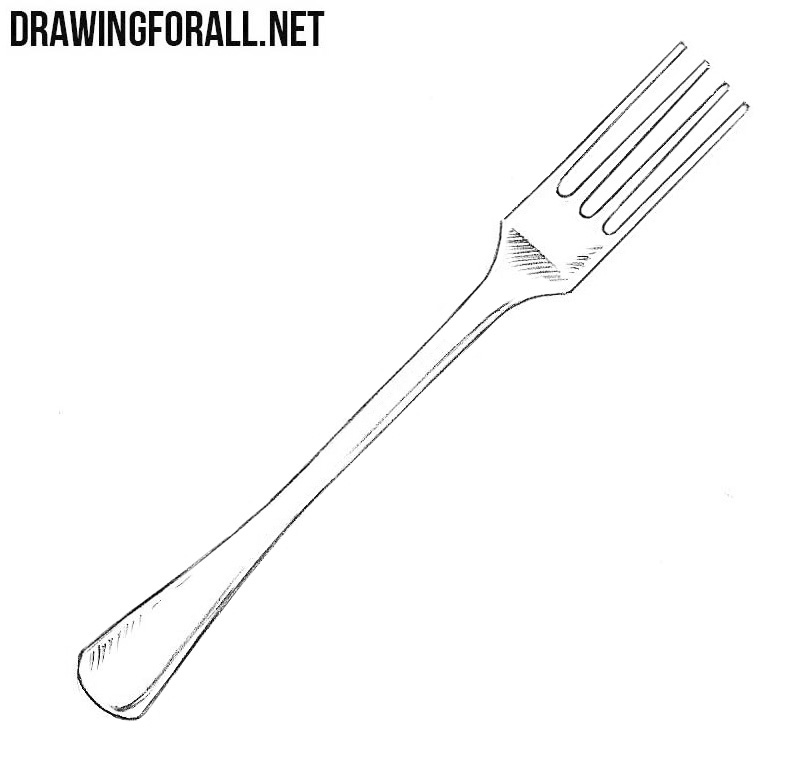
This fork drawing is so simple that anyone can draw. Usually there are three or four teeth, much less often there are two teeth. Now, starting from each circle, draw a straight line for each finger until it reaches the arched line we drew.
Hi everyone, in this video i show you how to draw a fork step by step 🍴. Draw this cute fork by following this drawing lesson. Web i've always shown you how to draw food, now it's time to learn how to draw a fork, knife and dish set.
Step 2 then, draw a centerline running through the middle point of the pentagon. On the lower portion, we'll eventually add a thumb. Fingers and thumb step 3:
Sketch the basic shapes and lines of the hand sketch the main shapes and lines of the hand first, using a hands reference photo. Follow our step by step tutorial and be. Add long tail step 3:

Easy Step For Kids How To Draw a Fork YouTube

How to Draw a Fork for Kids How to Draw Easy

How to draw fork step by step Easy Peasy Drawing

How to Draw a Fork Easy Step by Step

How to draw a Gardening fork step by step for beginners YouTube

How to draw fork step by step Easy Peasy Drawing

how to draw a fork step by step for beginners YouTube

How to Draw a Fork And Spoon HelloArtsy

How To Draw A Knife And Fork Step By Step itsessiii

How to Draw a Fork And Spoon HelloArtsy

How to drawing fork step by step with pencil, tutorial YouTube

How To Draw A Fork ( Things To Draw When You Are Bored ) Simple Easy

Learn how to draw a dining fork Real Easy Step by Step with Easy

