
How to Draw a Turkey Art Projects for Kids

How to Draw a Turkey Really Easy Drawing Tutorial in 2020 Turkey

How To Draw A Thanksgiving Turkey, Step by Step, Drawing Guide, by Dawn
Easy How to Draw Turkey Tutorial and Turkey Coloring Page

How To Draw A Turkey For Kids, Step by Step, Drawing Guide, by Dawn

How To Draw A Good Hand Turkey
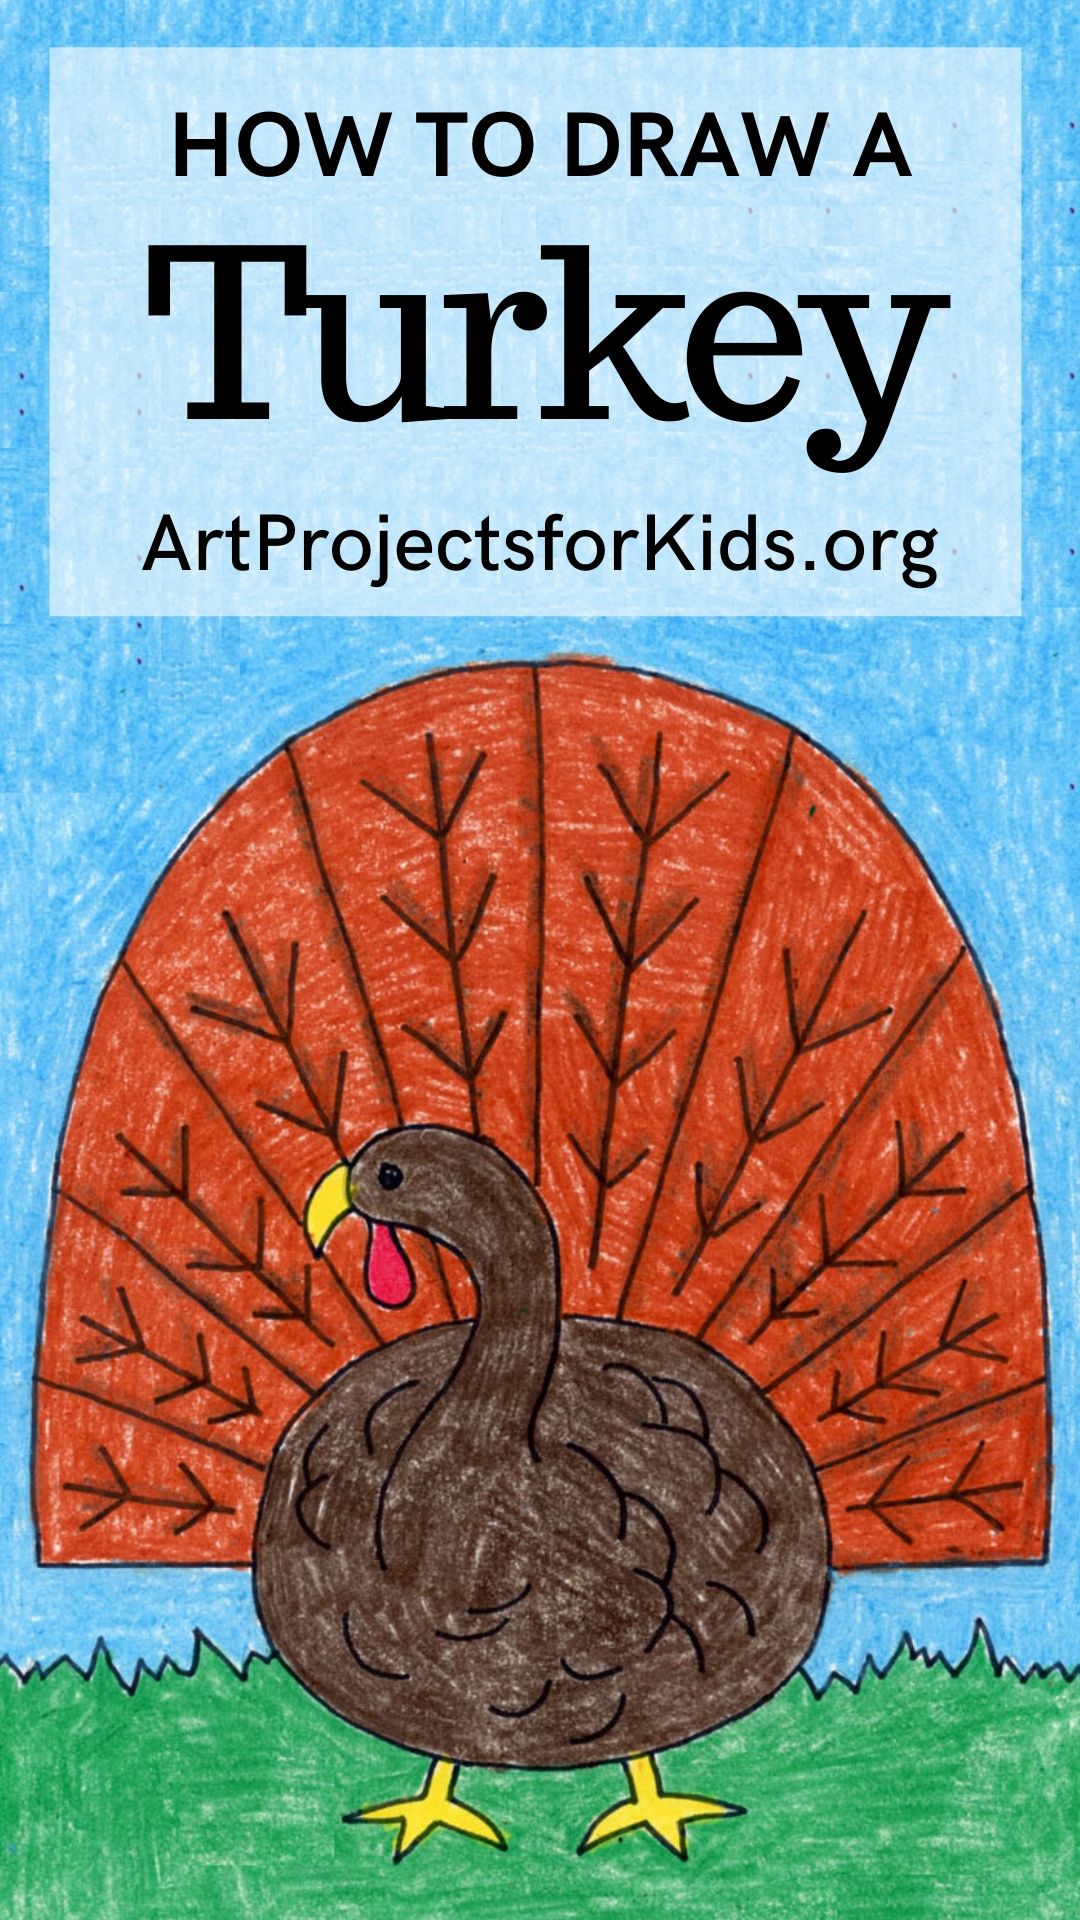
This arc will be the turkey.
Turkey drawing paper. Start your drawing with a few basic shapes. One eye can be drawn bigger than the other and it’s completely optional. Draw the outline of the spread out tail.
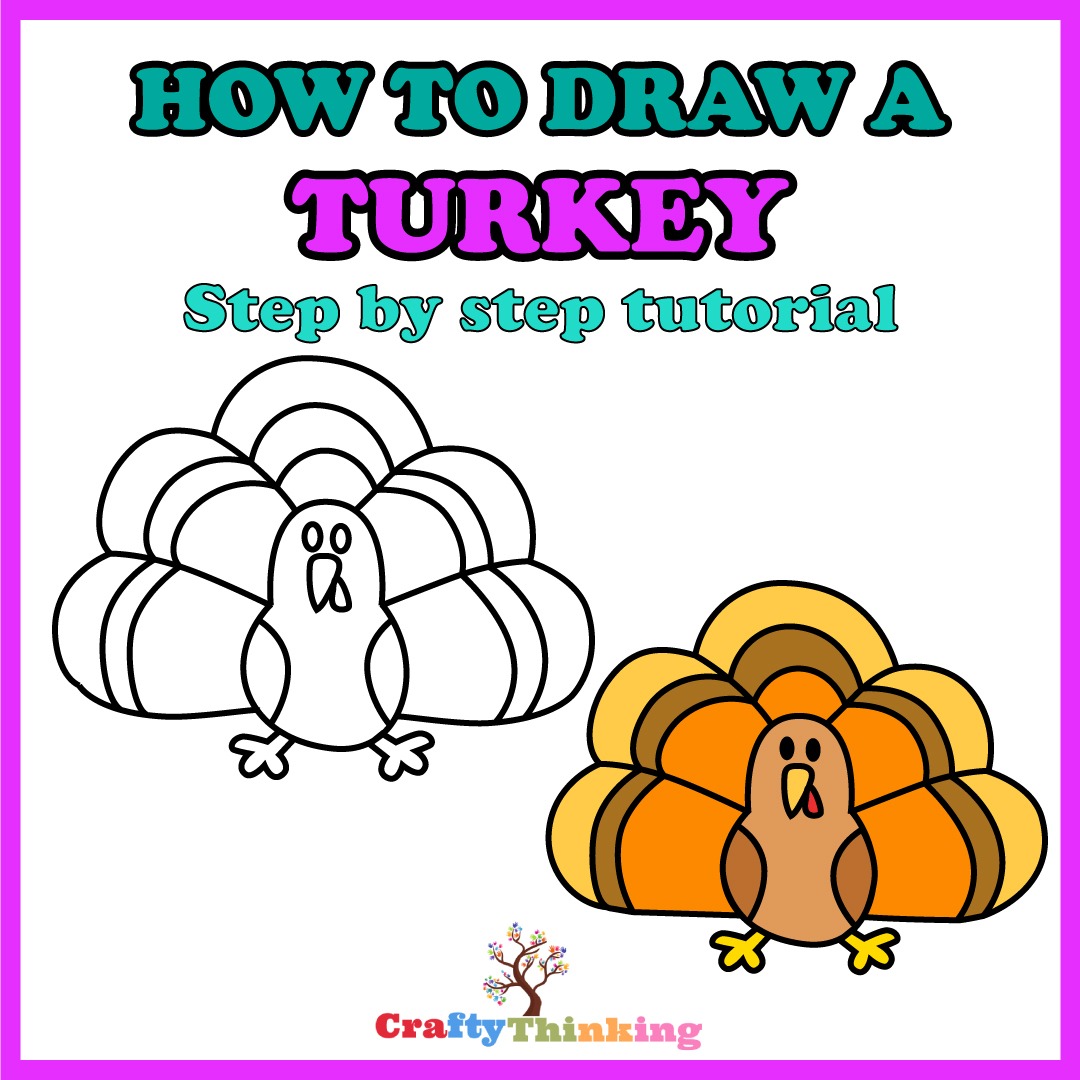
Draw two ovals that will help to define places for its head and body. Begin on the very front end of the head oval, and draw a long curved shape that intersects slightly with the main body oval. Keep in mind that the bottom part of the turkey’s body should be round, as shown in the illustration above.
Firstly, draw two small circles to represent the eyes so the turkey can see the marvels around. In this step, we are going to draw the back curve of the neck and the droopy flesh on the front of the turkey’s throat. Join our monthly membership and d.
Let’s start with the details of the face which is an essential part. Next, color its snood and feathers with a reddish crayon. Then, connect some of the lines to create the look of feathers.
Add beak and wattle, erase line. This will be the head of the turkey. Step 3 draw eyes and beak (with details).
I think it just adds more details and makes the turkey appear even cuter. Also draw two round shapes for the wings. In this post you will find step by step instructions for creating an easy turkey drawing in just 7 steps.

How to Draw a Turkey · Art Projects for Kids

Around Thanksgiving 2016 we got creative with our hand turkeys an

How To Draw A Turkey (Step by Step) CraftyThinking

How to Draw Turkey Step by Step for Kids Easy YouTube

Turkey Outline Drawing Free download on ClipArtMag

Hand Turkey Drawing Template at GetDrawings Free download

How To Draw A Turkey Easy Printable Lesson For Kids Kids Activities Blog

How to Draw a Cartoon Turkey · Art Projects for Kids

How to Draw a Turkey YouTube

How to Draw a Cute Turkey

Turkey Drawing For Kids at Explore collection of

How To Draw A Simple Turkey, Step by Step, Drawing Guide, by Dawn

Turkey Outline Coloring Home

