
How to draw Ears Side View step by step YouTube
![How to Draw Ears [Side view and Front view] YouTube](https://i2.wp.com/i.ytimg.com/vi/TyVxe-uZog4/maxresdefault.jpg)
How to Draw Ears [Side view and Front view] YouTube

How to Draw Ears Side View YouTube

Methods for Drawing the Human Ear Pluralsight

Learn to draw a human ear in 6 easy steps ( with pictures

How to Draw Ears, a Detailed StepbyStep Guide GVAAT'S

Step 6 and even more.
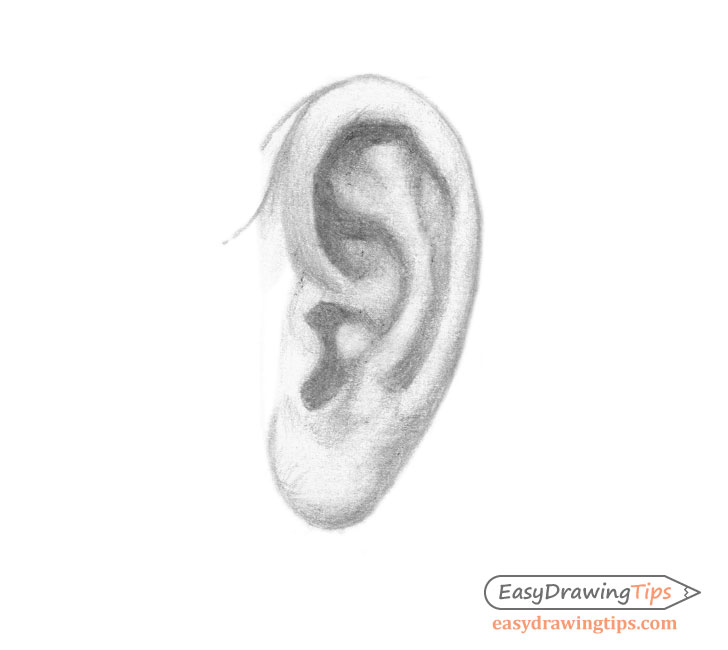
How to draw ears side view. Draw overlapped another oval at the bottom, it will illustrate the ear lobe. This tutorial also covers how to shade the ear. Web step 1 draw a backwards letter ‘c’ shape.
Web how to draw an ear | 01 |side view start your ear drawing with a curve. Sketch a curve like a c that follows the outer rim, from the top of the ear to where it curls in at the ear lobe. The first thing you want to do is a sketch/construction drawing of the.
Add the upper curve of the ear and add a few more lines to frame it’s bottom shape. Finished drawing of an ear from side view 2 draw two lines connecting the circles.
This tutorial also covers how to shade the. This tutorial also covers how to shade the ear. Draw a vertical line to show where the top and bottom of the ear attaches to the.
Ears are actually really easy to draw. Here's the complete tutorial video on how to draw realistic ear. Start off by drawing the flap in the middle of the ear that covers the hole where sound enters.
“everything is based on a shape,” says wolek. Also i am talking about head placement, so yo. Leave some space for the lobe.

How to Draw Ears Step by Step YouTube

How to draw ears Side view BY Aan Arts YouTube

Ear Drawing Reference and Sketches for Artists

Realistic Ear Study Drawing by LethalChris on DeviantArt
How to Draw an Ear Step by Step Side View

Learn How to Draw Ears and How to Shade Them Drawing and Shading Ears

How To Draw Ears For Beginners, Step by Step, Drawing Guide, by Dawn

Ear Study for artists Anatomy art, How to draw ears, Drawings

How To Draw An Ear From The Side Easily

How to Draw Ears from the Side Step by Step Tutorial for Beginners

How to Draw the Ear from the Front Step by Step Tutorial for Beginners

How to Draw a Realistic Ear Front and Side View Step by Step

How to Draw Ears Anatomy and Structure YouTube

