
All about wood stove chimneys Jøtul

Wood Classic Wood Stove and Fireplace from Kuma Stoves

how to install a wood stove chimney Pampered Chicken Mama Raising

Wood stove/Chimney Welbeck Sawmill

Wood Stove and Chimney Tin Can Cabin

How To Install Wood Burning Stove Pipe Through Ceiling Shelly Lighting
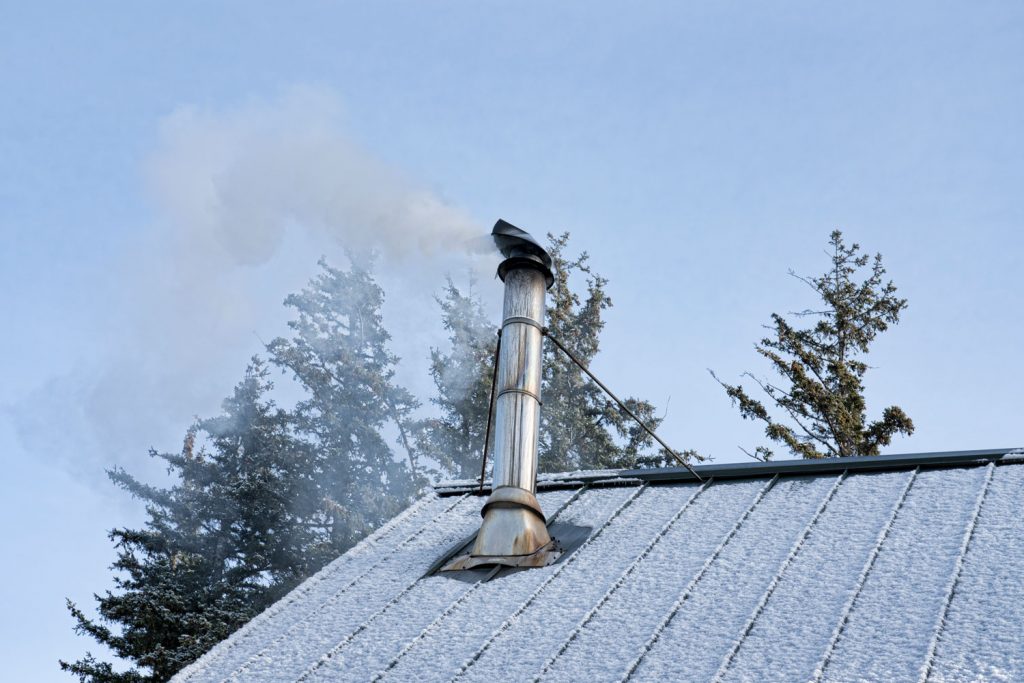
The chimney pipe for a wood burning stove gets installed through the house and roof.
Wood stove and chimney. 7 creating a false chimney breast for your stove; From there, special double or triple wall chimney pipe topped with a chimney cap is used. Web i’ve got the inside scoop on how to properly chimney a wood stove.
They have a space between the chimney walls to. Web an insulated chimney makes more draft with less heat. With the right chimney pipe, proper preparation, and careful installation, […]
Web multi fuel stoves. For the chimney to function correctly, it needs to receive about twenty percent of the heat energy produced by the burning wood. The best collection of wood burning stove ideas showcasing a range of fireplace decor including fireplaces for wood burning stoves.
It may sound complicated, but trust me, it’s easier than you think. A black modern stove with a black panel wall. Assembling and installing the chimney step 7:
In this article, i’ll guide you through the essential steps to ensure a safe and efficient chimney system. Single story, through the roof installation. Secure the stove in place, making sure it’s level.
Web the chimney is an important part of the wood stove and ensures that the gases and smoke from the stove are vented out of the house. From selecting the right chimney pipe to maintaining and cleaning it, i’ll cover it all. Web wood burning appliance venting is broken into two primary categories.

Wood Burning Stove Chimneys, An Informative Buyer’s Guide Country

Wood stove chimney through roof soffit Wood stove chimney, Corner

Stove and Chimney Installation The Fire Place Ltd

Pacific Energy Alderlea T5 LE Wood Stove Safe Home Fireplace

Pin on Let's try this

How to Install a Wood Stove in Your Manufactured Home Mobile Home Living

Fiesta Garden Stove and Chimnea (Garden Wood Burner)

How To Install A Wood Stove Chimney Through The Roof

Fiesta Garden Stove and Chimnea (Garden Wood Burner)

Wood Stove Installation Repairs Clean Victoria BC Flue Guru

Wood Burner Installation with External Twin Wall Chimney in Minehead

6 Different Types of Chimneys Used for Homes and Other Structures

Installation Wood stove fireplace, Wood stove installation, Wood

