How To Draw A Thanksgiving Turkey, Step by Step, Drawing Guide, by Dawn

How To Draw An Easy Turkey, Step by Step, Drawing Guide, by Dawn DragoArt

Turkey Drawing StepbyStep for Primary Classroom Students Turkey

How To Draw A Turkey For Kids, Step by Step, Drawing Guide, by Dawn

How to Draw a Turkey Step by Step Easy Drawing Guides Drawing Howtos

How To Draw A Thanksgiving Turkey For Kids, Step by Step, Drawing Guide

Add a curved line line for the eyebrows.
Turkey drawing reference. 2008’s “the incredible hulk” with $55.4 million. Web that means it’s time for some holiday art projects. Draw a line from top to bottom to close the number 3 shapes.
Put in an eyeball and give him a wing. Web how to draw a turkey | thanksgiving art for kids | step by step lesson art with ashley 3.43k subscribers subscribe 33 share 5.9k views 1 year ago directed drawings ms. Web gathering reference materials for drawing a turkey sketching the outline and proportions of a turkey adding details such as feathers, eyes, and beak enhancing realism with textures and patterns exploring different poses and expressions for the turkey practicing shading and highlighting techniques for depth and dimension author
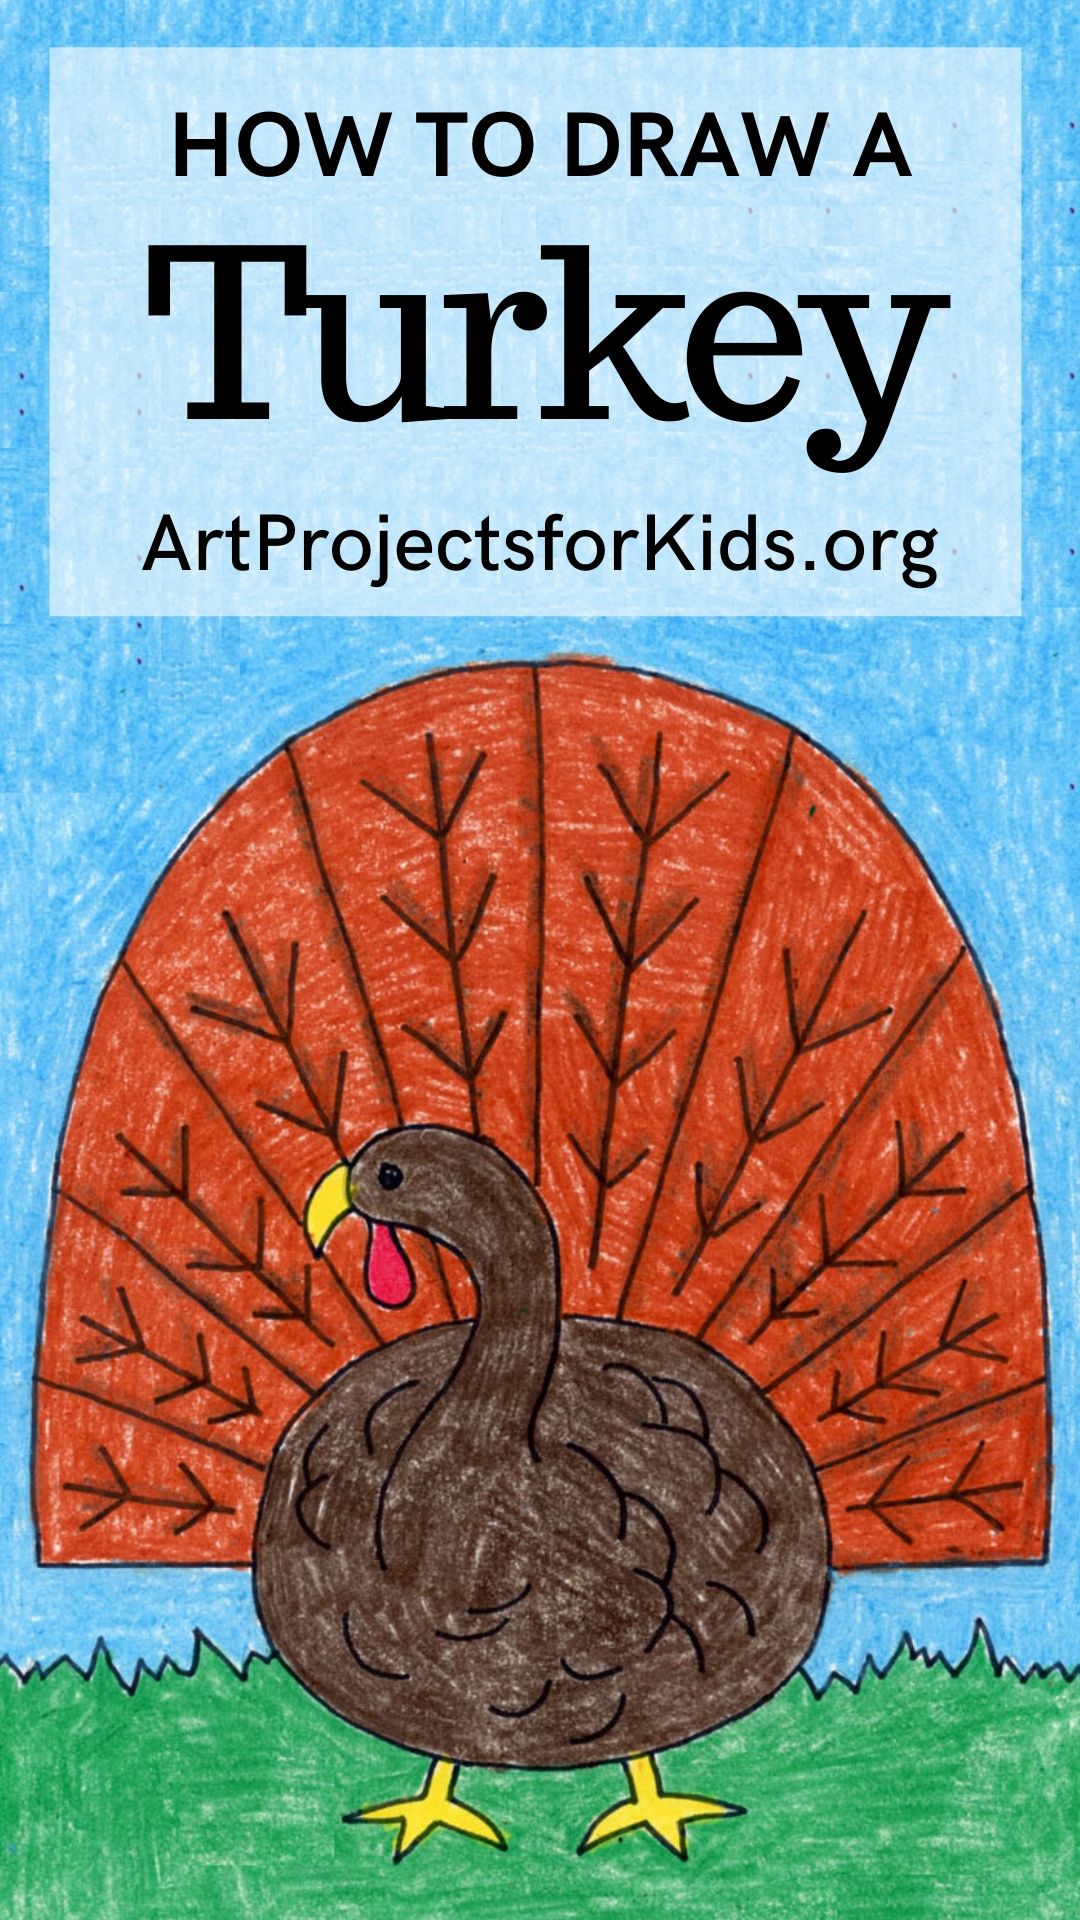
Drawing the neck to join the head and body. Web animals how to draw turkey step by step guide drawing a turkey may look complicated, but it is a fun and easy activity for beginners. Web go to tutorial turkey video coloring page cartoon coloring page cute turkey more animals turkey drawing draw a turkey video tutorial this how to draw a turkey lesson has proven to be a very successful drawing project over the years, and one that i would bring out for just about any age level.
Isolated birds on white background. With a little bit of patience and practice, anyone can learn how to draw a turkey. We’ve drawn a turkey before, we’ve also finger painted a turkey, we’ve even made a turkey cutout, but those were a couple years ago…this new turkey lesson is a little more realistic and 3.
Add details to the face. First let’s draw a circular guideline. Now, draw the turkey’s body outline and legs of turkey as shown in the reference image.
(make sure you draw the circle in pencil, as you will be erasing it later) you can use a lid from a jar, or other household container, and trace around it to get a perfect circle. Now, let’s add some details to the turkey’s face. Web animals home all animals birds turkey how to draw a turkey in 6 easy steps advertisement while i love kids’ turkey crafts and art projects, i decided that, rather than contribute to the copious number of that type of art, i wanted to offer a more realistic turkey for you to draw.

How To Draw A Simple Turkey, Step by Step, Drawing Guide, by Dawn

How to Draw a Cartoon Turkey · Art Projects for Kids

Turkey Drawing by Lisa Haney Fine Art America

How to Draw a Turkey Really Easy Drawing Tutorial Turkey drawing

How to Draw a Turkey Really Easy Drawing Tutorial in 2020 Turkey

Thanksgiving Turkey Drawing HelloArtsy

Turkey Drawing StepbyStep for Primary Classroom Students

Thanksgiving Activity Turkey Drawing and Hand Turkey with Zentangle

Turkey Drawing by Susannah26 on DeviantArt

How To Draw A Turkey Face, Step by Step, Drawing Guide, by Dawn DragoArt

Turkey (Wild) Drawing Lesson

How To Draw A Turkey in pencil

How To Draw A Turkey Art For Kids Hub