
Mod Podge Pictures On Wood The EverCool Gel Image Transfer Technique

Mod Podged Photos... Love of Family & Home

Pin by Tania Alfaro on My craftzzzzz Picture on wood, Modge podge

Photo to Wood Transfer Tutorial With Step By Step Photos and

How to transfer photos on wood 4 different ways A girl and a glue gun

Mod Podge Crafts Photo Transfer DIY & Craft Guide diy and craft guide
For modge podge on wood, you’ll need:
Modge podge picture onto wood. Web how to use mod podge to transfer a laserjet printed image on to wood. In this video, you’ll see the basics of how to use mod podge to create a collage. In a few simple steps, you can transfer photos to any piece of wood, creating customized masterpieces for.
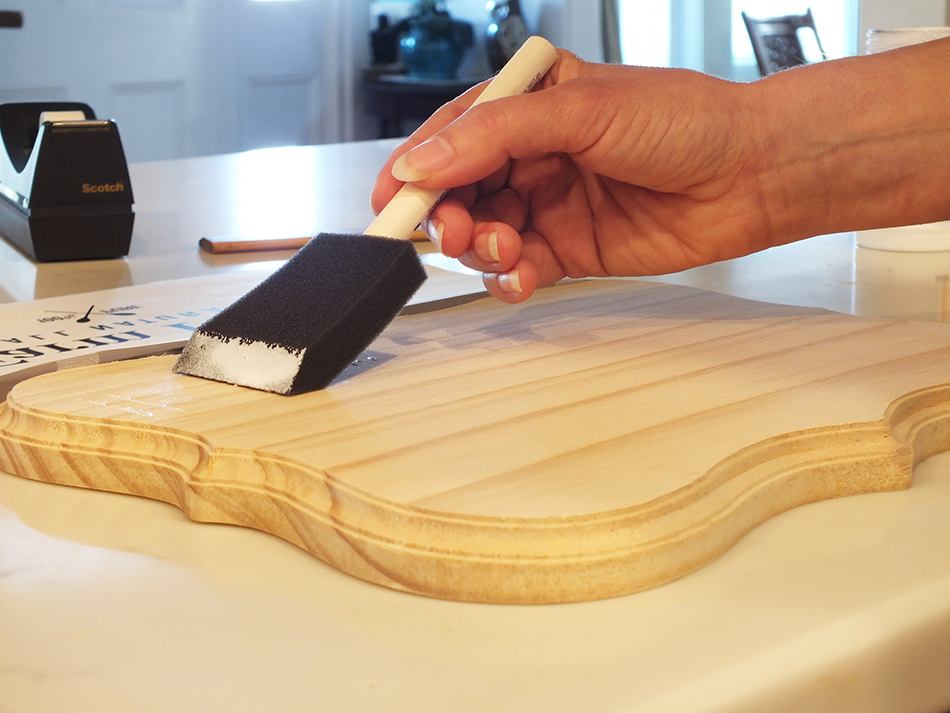
Basic steps of applying paper to wood using mod podge. Then, press your photo onto the wood and cover it with a thin layer of mod podge. All you need is some mod podge (which is.
Web how to sew in today’s post: Ensure that it is smooth and free of any dust or debris. Web next step is to apply the mod podge photo transfer medium directly onto the face of the image being transferred using either a 3/4 flat brush or a squeegee.
Web 1 choose a suitable object for the project. Prepare your wooden surface to start, choose a wooden surface for your project. Web a photo transfer to wood takes some knowledge of how to apply mediums as well as a little bit of practice.
This tutorial uses a laserjet image and mod podge. Some folks would say that i’m crafty and i do crafty things all of the time and that this is a. Web crafts unleashed and morena's corner show you how to use mod podge transfer medium to easily put any photo on a wood surface.
You can easily transfer photos and images to a variety of surfaces including wood, canvas, metal, glass, and more. Web 23k 962k views 4 years ago this diy project is so much fun, and a surprisingly easy way to display your photos! Web how to transfer a photo to wood with mod podge.

DIY Learn how to Easily Transfer your Photos onto Wood, with Mod Podge

How to Transfer Photos on Wood Photo transfer to wood, Mod podge

Easy Photo Transfer on Wood Slices with Mod Podge Sue's Creative

How to Transfer a Photo to Wood with Mod Podge YouTube

Pictures On Wood With Mod Podge Diy Learn How To Easily Transfer Your

How to transfer photos on wood 4 different ways A girl and a glue gun

How to use Mod Podge on wood craft projects (With images) Mod podge

DIY Easy Mod Podge Wood Photo Transer YouTube

My first image transfer to wood using Modge Podge. The photo is one

Modge podge photos on wood a diy inexpensive photo hang Plain and not

Cool and Easy DIY Mod Podge Crafts Hative

Wood Transfer Photo's by Kristina Oakley (using Mod Podge Photo

Modge podge picture on wood piece Picture on wood, Vintage art prints

