
How to Draw Ears, a Detailed StepbyStep Guide GVAAT'S

Methods for Drawing the Human Ear Pluralsight

How to Art Ear art, How to draw ears, Art reference photos

Learn to draw a human ear in 6 easy steps ( with pictures

Pencil Drawing Tutorial How to Draw an Ear How to draw ears, How to

8 EASY STEPS TO DRAW REALISTIC EARS UNIQUE ART BLOGS
Draw the shape of an ear.
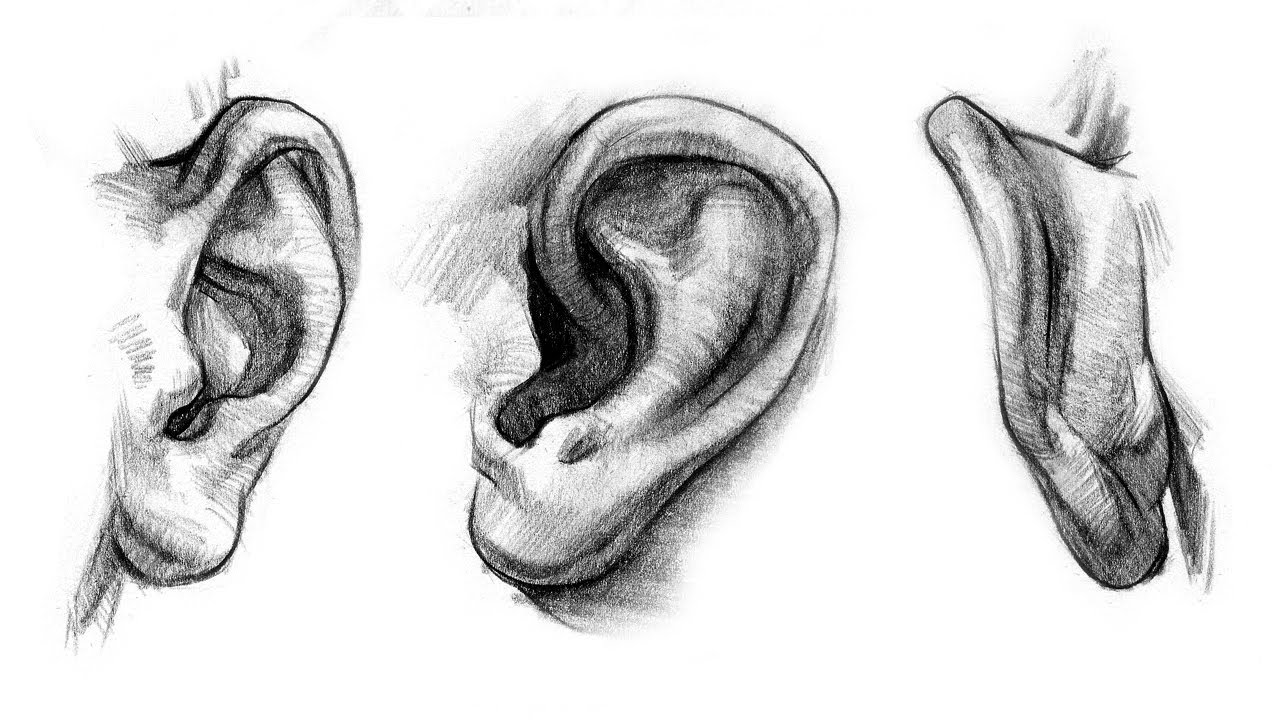
How to draw ears from back. Using this method will provide you with a stronger sense of the ear's surface construction and will improve your ability to draw the ear at various angles. When viewed from the back, the outer rim of the ear stands away from the head. Front, side, and in perspective.
Draw the bumps and folds. Web drawing supplies needed to make an ear drawing easy step 1: Web your ear drawing needs some color, and this is your chance to show us how creative you can be!
Choosing the color is just one way to personalize your ear drawing, and there is more you can do as well. In this tutorial i will show you such an anatomical deconstruction, and i will also explain how to use it to draw ears in three views: Web how to draw ears :
Start your ear drawing with a curve draw a vertical line to show where the top and bottom of the ear attaches. This tutorial show how to draw an ear from the front, side and back views with a detailed line by line and step by. When you’re practicing how to draw an ear, be aware that the ear is tilted from the vertical position about 15 to 20°.
Web add the inner ear detail. 4 drawing different styles of ears Web if you want to learn how to draw ears, the best approach is to break down the surface anatomy into simple outlines and shapes.
Sketch a curve like a c that follows the outer rim, from the top of the ear to where it curls in at the ear lobe. Draw a vertical line close to the left of the rectangle, as we indicated in red. To create the helix, the raised outer rim of the ear, follow the outline.

Learn How To Draw An Ear From The Back
![Sketchdump April 2018 [Ears] by](https://i2.wp.com/i.pinimg.com/originals/ec/06/71/ec067133eee7a167d839b93150de37b2.png)
Sketchdump April 2018 [Ears] by

How to Draw Ears Anatomy and Structure YouTube

Learn How to Draw Ears and How to Shade Them Drawing and Shading Ears

Learning drawing principles ears

How to Draw Ears Step by Step YouTube

How to Draw Ears YouTube

How to Draw Anime Ears, a Simple ThreeStep Guide GVAAT'S

Guide to Drawing Ears Art Rocket Ear art, How to draw ears, Art

How to Draw Ears Online Art Lessons

Drawing Ear (From Different Angles) (TimeLapse) YouTube

How to Draw Anime and Manga Ears AnimeOutline

Learning drawing principles ears

