
How to draw clouds, beginner and advanced tutorials

How to Draw Clouds Step By Step For Kids & Beginners

How i draw clouds by ryky on DeviantArt

Cloud drawing, Clouds, Digital painting tutorials

How to Draw Clouds Art Projects for Kids

How To Draw Clouds Drawing Clouds with Charcoal
Web learning how to draw a cloud and make it look realistic, you can start by observing the shape and texture of real clouds.
How to draw cloud texture. Paper (preferably a sketching or drawing paper) pencil (hb or 2b) eraser blending stump or cotton swabs (optional) charcoal or soft pastels (optional) step 1: For stratus clouds, use long horizontal strokes, and for. Adjusting details 2.8 step 8.
It might be easier to draw a quick line drawing like the one below if. These will be the raindrops falling from the cloud. Internal shading 2.5 step 5.
Like any skill, drawing cloud requires regular practice. The cloud drawing tutorial has come to an end. Take one of your oil pastels for the shade of the cloud.
Draw a curved line across the top of the large oval to create the outline of the cloud. Then, add two smaller oval shapes on either side. Web drawing clouds can be a challenging task, but with the right techniques and a little practice, you can create stunning cloudscapes that will leave everyone in awe.
Finally, add in a few light strokes to give the cloud a bit of texture. Connect the bottom of the cloud to enclose the shape of the cloud with its remaining side. Blending for softness 2.7 step 7.
Web realistic clouds 1. Web join us as we unravel the techniques, tips, and tricks that will enable you to bring the ethereal allure of clouds to life through your pencil strokes. You can use this technique in drawing a realistic cloud.

Clouds Draw Cliparts.co

Cloud tutorial by AkubakaArts on DeviantArt Digital painting

How To Draw Realistic Clouds With Pencil YouTube

Clouds Colored Pencil Drawing Time Lapse YouTube

How To Draw Realistic Clouds, Draw Clouds, Step by Step, Drawing Guide

clouds drawing Google Search Cloud drawing, Drawings, Cloud painting
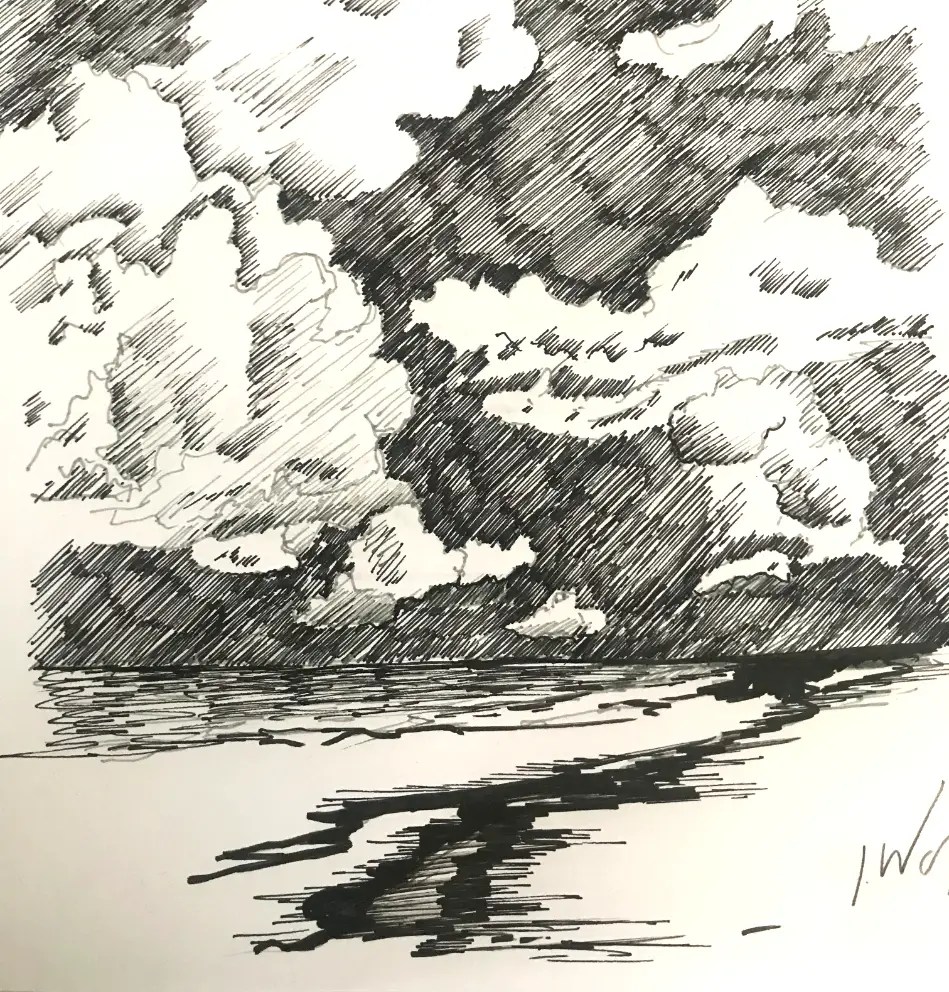
How to Draw Clouds with Pen Improve Drawing

How to Draw Realistic Clouds Draw Central Cloud drawing, Clouds

How To Draw Realistic Clouds, Draw Clouds, Step by Step, Drawing Guide

How to Draw a Cloud Easy Drawing Tutorial For Kids

How to Draw Clouds Really Easy Drawing Tutorial

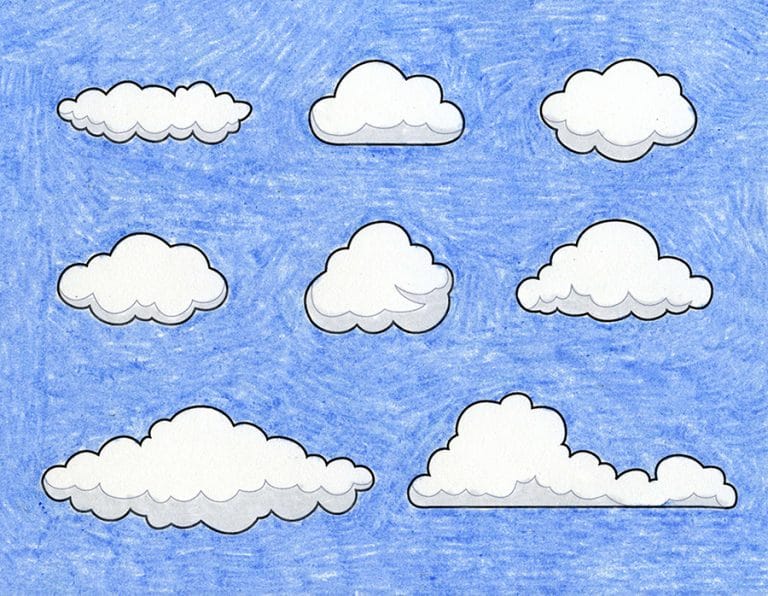
How To Draw Clouds With Coloured Pencils Howto Techno

How to Draw Clouds Cool2bKids

