
How To Apply Vinyl To Tumblers A Little Craft In Your Day How to

Applying Vinyl to a Tumbler So That's It's Always Straight Tumbler

How to Apply Cricut Vinyl to a Tumbler Doovi

Applying Vinyl to a Tumbler So That's It's Always Straight! Leap of

How to Apply a Decal to a Tumbler Cricut tutorials, Cricut craft room

How to apply a vinyl decal to a tumbler. YouTube
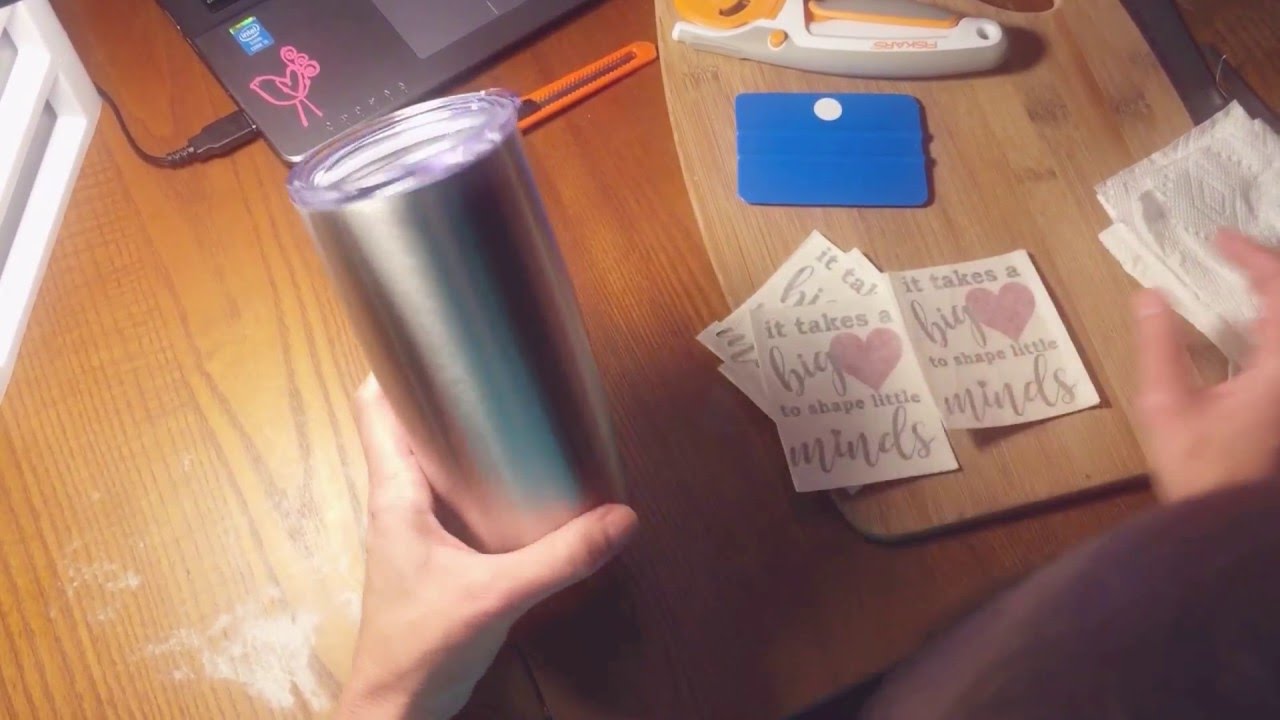
Once the bottom is in place i applied the rest of the vinyl design from the middle out toward the edges.
How to apply vinyl to tumbler. And if you’ve just bought one, all the. Dreaming of a pink christmas mc927908. Press that small section onto the tumbler.
Here are a few more things you’ll need: Before applying the adhesive vinyl to the tumbler, remove at least half of the paper. If you own a cricut machine, you’ll know how to do this.
How to choose the best sealant for your vinyl tumbler. Fold back a small section of the vinyl backing. The slight curve in the vinyl, the water line, and the snips in the transfer.
Line up the bottom of the tape with the bottom edge of the mug to make sure the tape is straight. Place a piece of painter's tape under the center to hold it in place. In this recorded live training, we will be customizing tumblers with our colorspark opal adhesive vinyl and colorspark holographic adhesive vinyl combine to give depth and.
Use a dry erase marker to draw a straight line along the top edge of the tape. All images can be found in design space and free with cricut access. This step is an essential part, so we'll take our time with this.
Go retro and recreate this custom tumbler using our permanent vinyl sheet in blue groovy flower patterns. Tear off half of the transfer paper and cut the backing while holding the adhesive transfer paper. Leave the rest of the vinyl backing attached to the.

How To Apply Vinyl To Tumblers (With images) Tumbler cups diy, Cricut

Applying Vinyl to a Tumbler So That's It's Always Straight! Monogram

How to Put Vinyl on Cups and Tumblers So It's Straight Silhouette School

