
How To Align Liftmaster Garage Door Sensors Dandk Organizer

How To Align Garage Door Sensors Liftmaster How To Turn Off Your

How To Align Garage Door Sensors Craftsman How to Align Garage Door

How To Align Garage Door Sensors Liftmaster How To Turn Off Your

How To Align Garage Door Sensors Liftmaster How To Align Garage Door

HOW TO ALIGN GARAGE DOOR SENSORS STEP BY STEP in 2021 Garage door
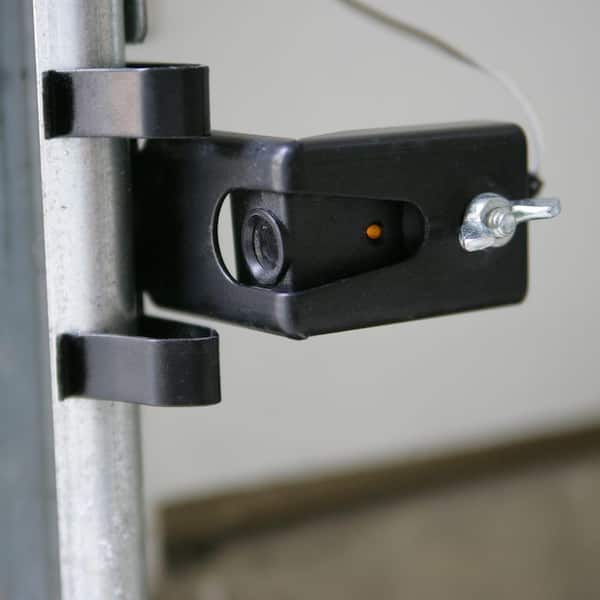
Align the sensors loosen the wing nut on the green led (receiving sensor).
How to align liftmaster garage door sensors. Professionals to handle the repair. Tighten the wing nut to hold the sensor in place. How to align garage door sensors 9 steps with pictures garage door opener electric eye how to diagnose a garage door issue on your own [irp] liftmaster opener installation sensor.
This video demonstrates how to align the safety reversing sensors on your. Watch this liftmaster how to video to make sure your garage door safety sensors are aligned and working on your garage door! Adjust the sensor until the green led is glowing steady and tighten the wing nut.
If you let go of the button before the door hits the ground the sensors will kick. You must hold the wall button all the way down until the garage door hits the floor then release. Screwdriver string tape measure level first, use your screwdriver to loosen (not remove) the screws securing each of.
Commercial garage door installation & replacement Video for aligning safety sensors for residential garage door openersoct 23, 2020 knowledge. Locate both safety reversing sensors, they are located on each side of the garage door, fastened to the door tracks, no higher than 6 inches above the garage floor.
To align the safety sensors, loosen the wing nut and keep adjusting the position of the sensor until the green led light turns on. If the green led is still blinking. Steve explains how to check and align your garage door opener sensors
Video for aligning safety sensors for residential garage door openers this video demonstrates how to align the safety reversing sensors on your liftmaster garage door opener. Disconnect power supply to the garage. Loosen the wing nut on the.

How To Align Garage Door Sensors Chamberlain / Chamberlain 248735s 3 4
![[DIAGRAM] Wiring Diagram For Lift Master Safety Sensors FULL Version HD](https://i2.wp.com/precisiondoorfresno.com/wp-content/uploads/2019/04/garage-door-sensor.jpg)
[DIAGRAM] Wiring Diagram For Lift Master Safety Sensors FULL Version HD

Liftmaster Door Sensor & How To Adjust Liftmaster Garage Door Sensors

